Happy Thanksgiving! I finished up my cooking (my mother is doing the bulk of it this year) and decided to start putting up Christmas decorations before the big feast. I had to finish up my stockings, so I decided to put together a little tutorial on how I applique.
1) Open up your word processor and find a font and size that you like. Make sure and switch the font to "outline" so that you don't waste ink. If your word processor will print in reverse, then do that now--it will save you from having to do step 2. Print.
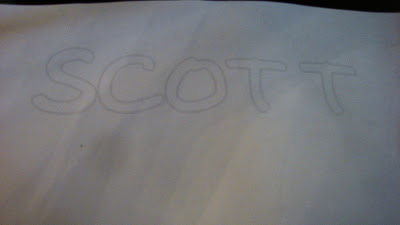
2) Trace your letters onto double-sided fusible web (I use Steam-a-Seam 2). If you were able to just print your letters backward (my system won't do it), then skip to step 3.
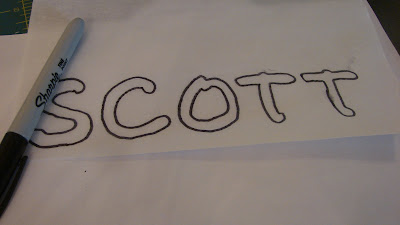
3) Turn your fusible web over and trace the letters backward.
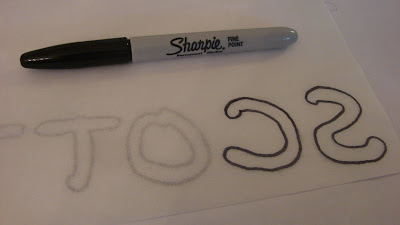
4) Peel off the front paper on your fusible web. You want to put your sticky side onto the WRONG side of the fabric (this is the part I most often have to repeat because I iron it to the right side). If your fabric has no wrong/right side (like my red below) it doesn't matter where you iron it, but I will repeat: IRON FUSIBLE WEB TO THE WRONG SIDE OF YOUR FABRIC.
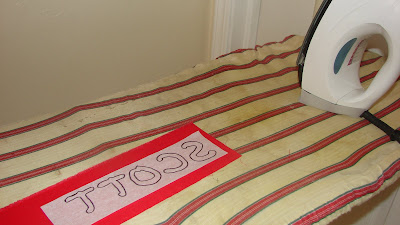
5) Cut out your letters. Notice that since you ironed to the wrong side, the front of your letters are now facing the right way.
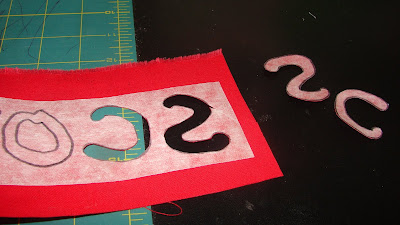
6) Peel off the paper on the back of your letters.
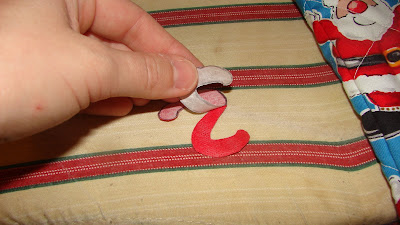
7) Position them however you want.
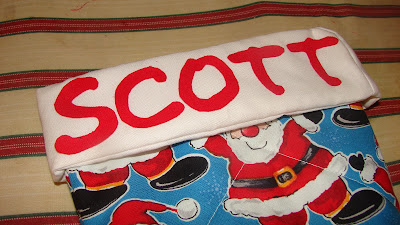
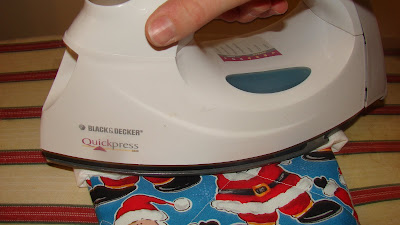
8) Iron. If this was a shirt or something I would be repeatedly washing, I would run a zig-zag stitch around it as well.
All done!


