I am submitting this post to Tea Rose Home's Wednesday Link Party. I love it! Check it out!Do you love baked potatoes? Except that you have plan about an hour in advance if you want to eat one? Or you have to wrap it up in yucky saran wrap and risk getting cancer to make it in the microwave? Okay, maybe nobody else thinks like that, but I sure do. I've seen quilted potato pouches at craft fairs, and of course thought, "I can make that!" Therefore, I present my
Zippy Potato Pouch to you. Just pop in a clean potato, microwave and you have a quick, yummy, healthy lunch!

And here is how I made it:
You will need:
-2 fat quarters, or roughly 1/4 yard of main fabric, and an 1/8 yard of contrasting fabric (for binding), all 100% cotton
-9" x 17" 100% cotton batting
-Cotton thread in a neutral color (mine matches my binding fabric, since I am
topstitching on it)
(I'm really pushing the cotton because I'm afraid if any polyester or other synthetic fiber is used, it may catch fire in the microwave)
Here's my fabric choices:

First, cut your main fabric into 2 8" x 16" rectangles:

Sandwich your batting in between your 2 rectangles. It's good for your batting to peek out a little since it may scrunch up a little during quilting. Make sure both of your main fabric rectangles are facing out:

Since this is so tiny, and it will be touching food, I did not use basting spray before quilting. I just carefully pinned around the edges, trying to line up the rectangles on either side of the batting:

Before quilting, choose one of the 8" edges to taper. Make a mark on both sides about 1 1/2" down:

Then cut of the corner at a 45 degree angle:

Do this to both sides so that they taper:

Next, quilt however you desire. It doesn't have to be fancy, I just drew lines with a water-soluble pen about every 3 1/2 inches at 45 degree angles:

Then I sewed along my lines. When you are done, be sure to cut off the excess batting:

Next, cut three 2 1/4" strips from your binding fabric:

To make binding strips, you must lay out one piece, right side up. Then run another strip
lengthwise over the corner, right side down. Pin in place:

Draw a line from corner to corner (another 45 degree angle) Sew along this line and when you fold up the strip, it will be one long piece. Sew together all 3 strips so that they are one long strip:

Cut one 8 1/2" strip from your long binding piece. This will be for one edge of your pouch. The rest of the binding will go all around the edges. To make double-fold binding, iron the strips in half first(ugh, I really need to make
this):

Unfold, and fold in each edge to meet the middle. Iron so that they stay:

Then fold in half again and press. Do this to the 8 1/2" strip and the long binding strip:

Take your 8 1/2"strip and pin over the 8" edge (the non-tapered one) of your pouch. Sandwich the pouch material between the strip. Sew in place and trim the excess binding when done:

Fold the pouch so that the finished edge meets the point where the pouch begins to taper:

Pin the long binding strip all around the edges. When you get to the end, fold the raw edge under a bit so that it doesn't show:

Sew all around. I used the left side of my sewing foot as a guide, lining it up with the binding edge. Turn the corners carefully:

That's it! Your done!

You can cook 1-2 potatoes at a time, about 3-5
mins per potato, depending on size. Just make sure to tuck the tapered edge into the pouch first.
 Truth is, I need to take it easy. That's what summer is for anyway, right? I think it's time to loosen up my work ethic and take a cue from the kids (that is, naptime is essential):

 All I did was lower my feed dogs and strap on a special quilting foot. I'll probably buy a stencil to use next time since I overlapped a couple of times. This is awesome!
 Goofy face:
 And here's a little look at something I made this week. My friend Nicolette made Finn a crayon roll last year and I've always thought it was the cutest thing. So, I made one up for a birthday party last weekend. I need to put this in my store:


 I didn't want my work to be completely wasted, so I put a couple together to make a hair clip:
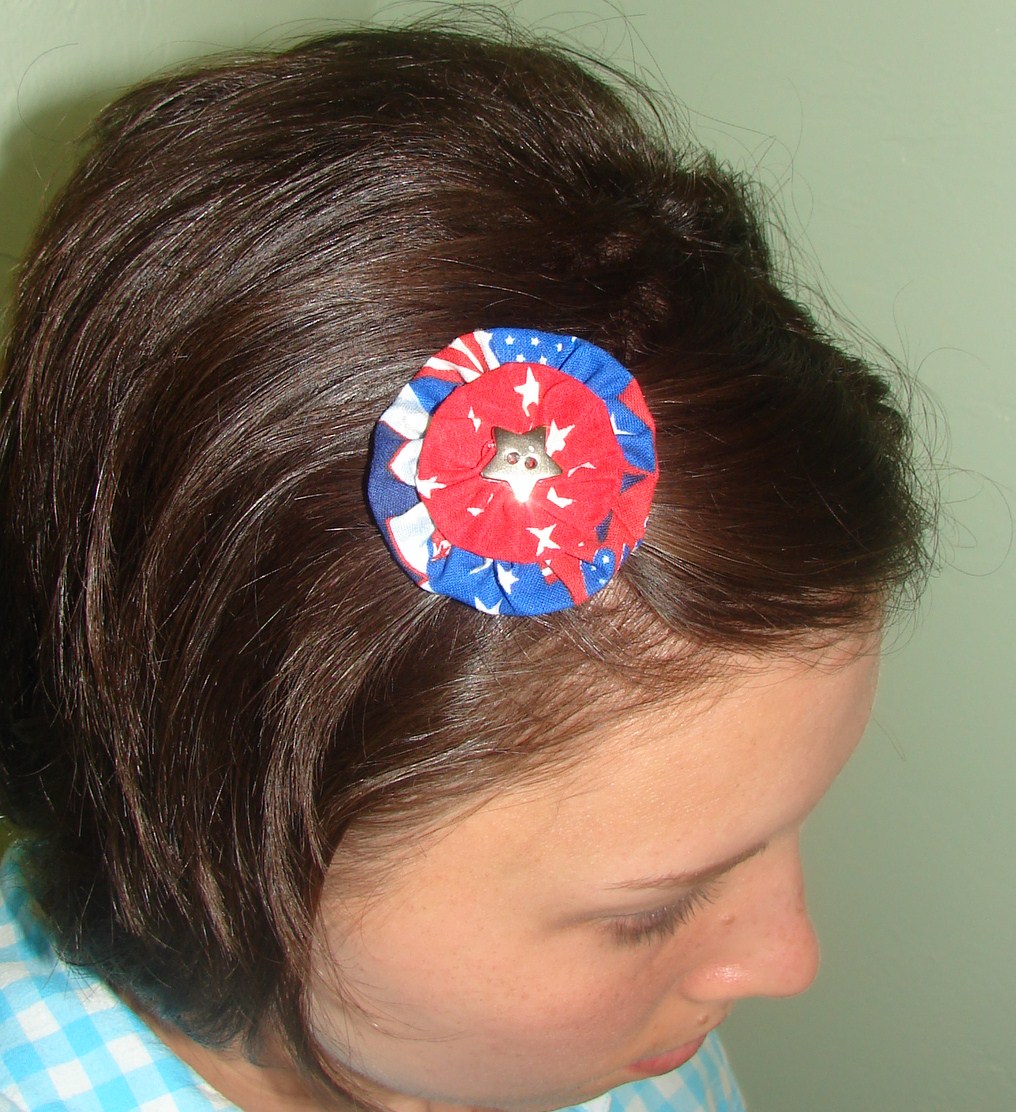 And I picked up a headband and made another yo-yo hair piece:
 This were originally for Kiki, but I'm starting to think they work well for me too! I should get started on some for Halloween and put them in my store!
 Then we took a short vacation to visit family. And I forgot my camera! So frustrating.
 And a quilted birthday card (LOVE these!):
 Last but not least, we bought a minivan!
  First, cut your main fabric into 2 8" x 16" rectangles:


 Then I sewed along my lines. When you are done, be sure to cut off the excess batting:


 Then fold in half again and press. Do this to the 8 1/2" strip and the long binding strip:
 Take your 8 1/2"strip and pin over the 8" edge (the non-tapered one) of your pouch. Sandwich the pouch material between the strip. Sew in place and trim the excess binding when done:


 You can cook 1-2 potatoes at a time, about 3-5 mins per potato, depending on size. Just make sure to tuck the tapered edge into the pouch first.
 Hopefully I will have a tutorial up soon!

